Emc209i wrote:A fresh coat of paint on that ceiling and the rails installed, and you're set for garage porn photo's. What are you going to use to lift the beams while you fasten them? Some sort of jack?
Thanks!
I surprised even myself with how well finished it looks with just the tabs of the tie plates sticking down through the ceiling.
We used a variety of items to help lift the rails into place.
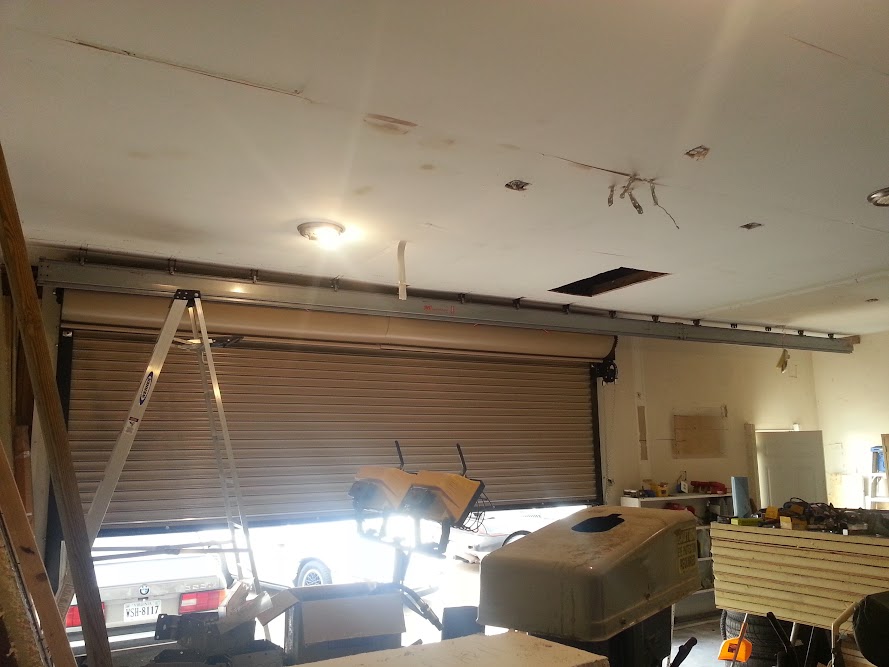
I'm about half done with the drywall... I realized that I had to finish these panels *BEFORE* we install this rail or I wouldn't have access to be able to drive screws on the far side of the rail:

Chainfall lifting the 20' rail more or less into place and a friend of my dad's helping us:

Lifted further with a temporary cord tying up the far end:

Temporary cords holding the long and short sections on the front wall:

After I took that shot, I was able to go through and install two hangers per section... so two hangers on each 20' and two hangers on each 10' piece.
However, I didn't get photos then and it's dark now. I'll get photos of that tomorrow.
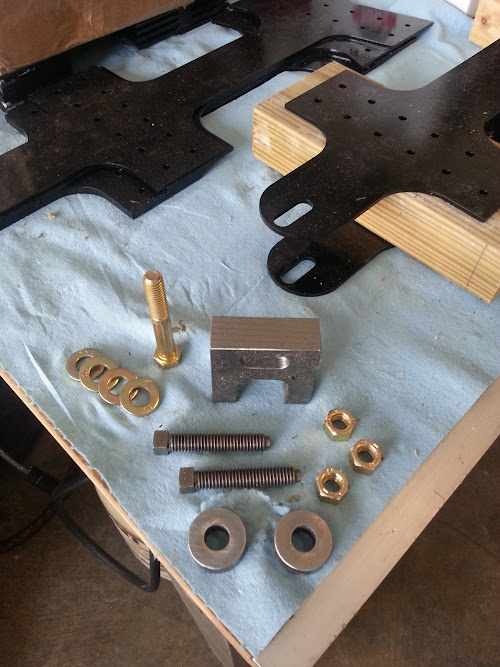
I ordered 3/8-16 x 2 qty 60 half dog point square head set screws ($1.73 each!) from Fastenal to use in the beam clamps. I called Fastenal to be sure that the parts would be here yesterday with the shipping option I selected, AND I indicated I'd pay for more expensive shipping to be sure I received the parts on time. The Fastenal rep assured me that they would ship Wednesday and arrive Friday.
Of course they didn't show (well... a small fraction of the order did, but not those screws)
So I had to use some cheapo temporary screws, which is why I only installed two hangers per section.
Here's a demo of the way the tie plates and beam clamps work together to make a hanger:

The tie plates have vertical slots to make up for errors in the installed elevation of the tie plates. The beam clamps have horizontal slots to make up for errors in the alignment of the installed position of the tie plates. I also included an inch of variability in the elevation of a tie plate as installed on a truss.
Holy cow... but it's all up, in place and about to be bolted together!