Page 1 of 1
Workbench project
Posted: Fri Mar 10, 2023 4:06 pm
by pmbrunelle
This is something I've been working on... I want a solid table on which I can smash things with a hammer, without too much bounce. A general purpose table for assembly, etc. I'll be putting a vise on it, but no other tools.
This is all done with leftover wood from the demolition of the former partition walls in the basement. Of course, there is still some considerable cost due to glue, screws, hardware, etc.
The tabletop is made from 2x4s glued and screwed together:
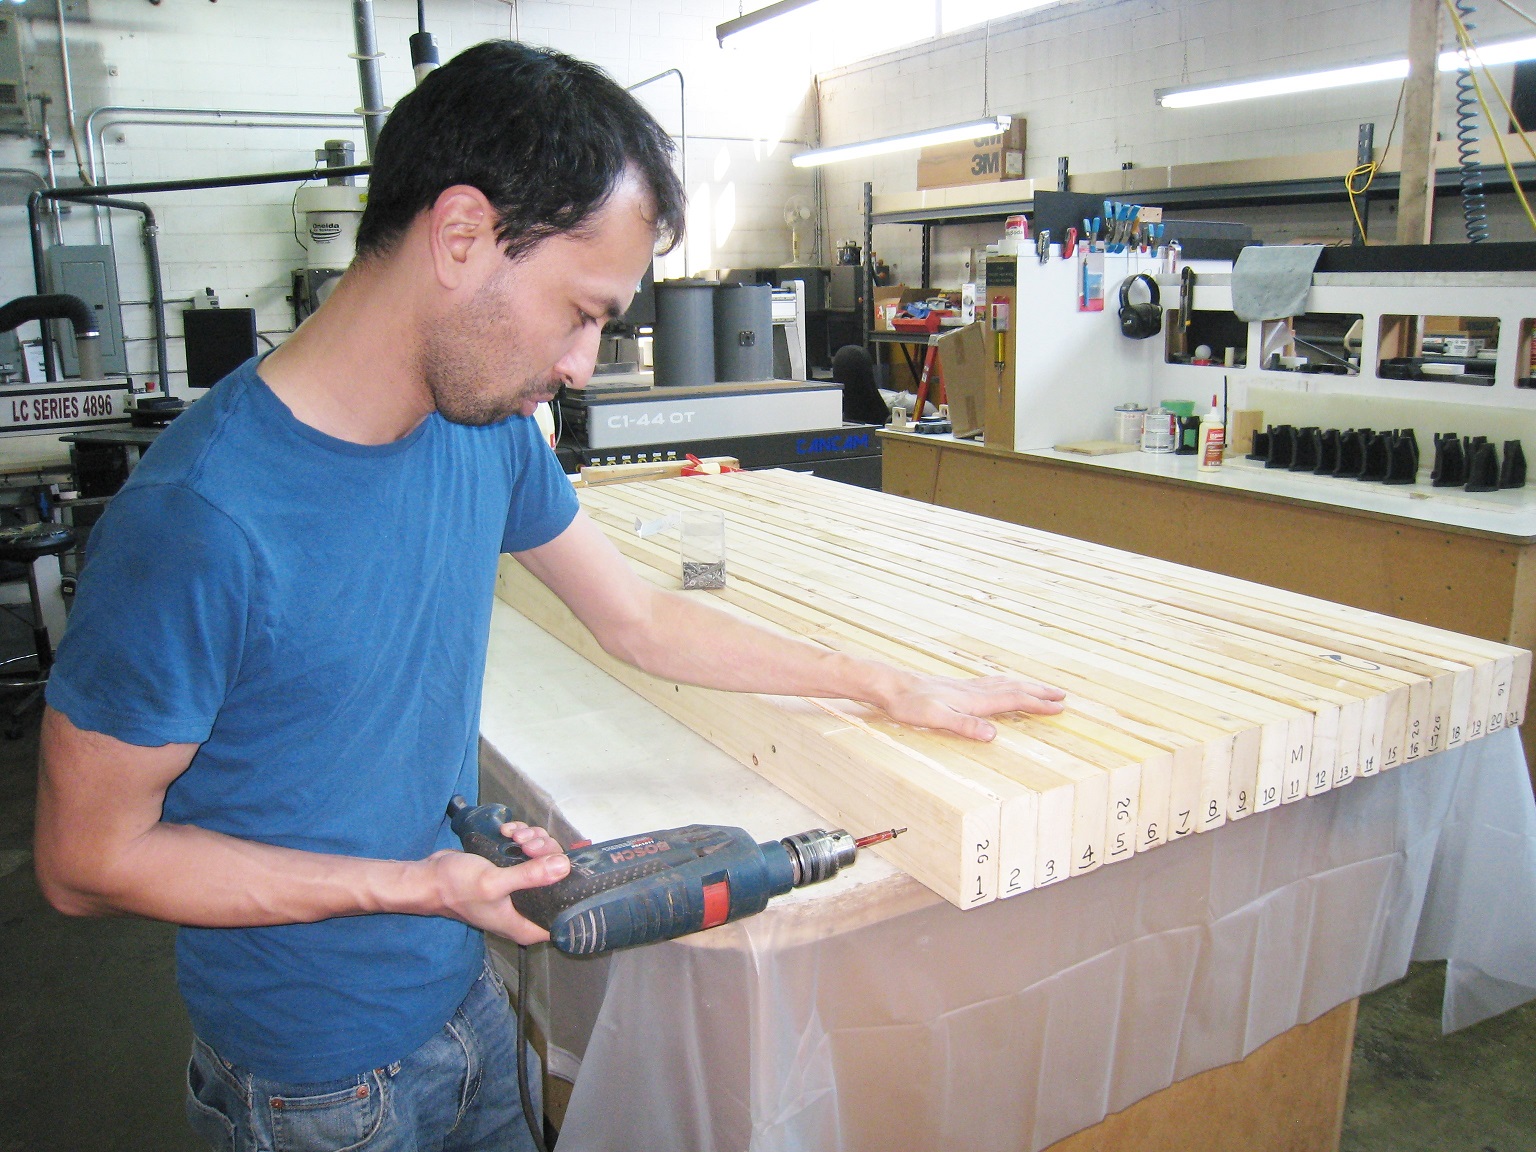
- Laminating.JPG (630.11 KiB) Viewed 1641 times
Then, I did some surfacing cuts on a CNC router table:
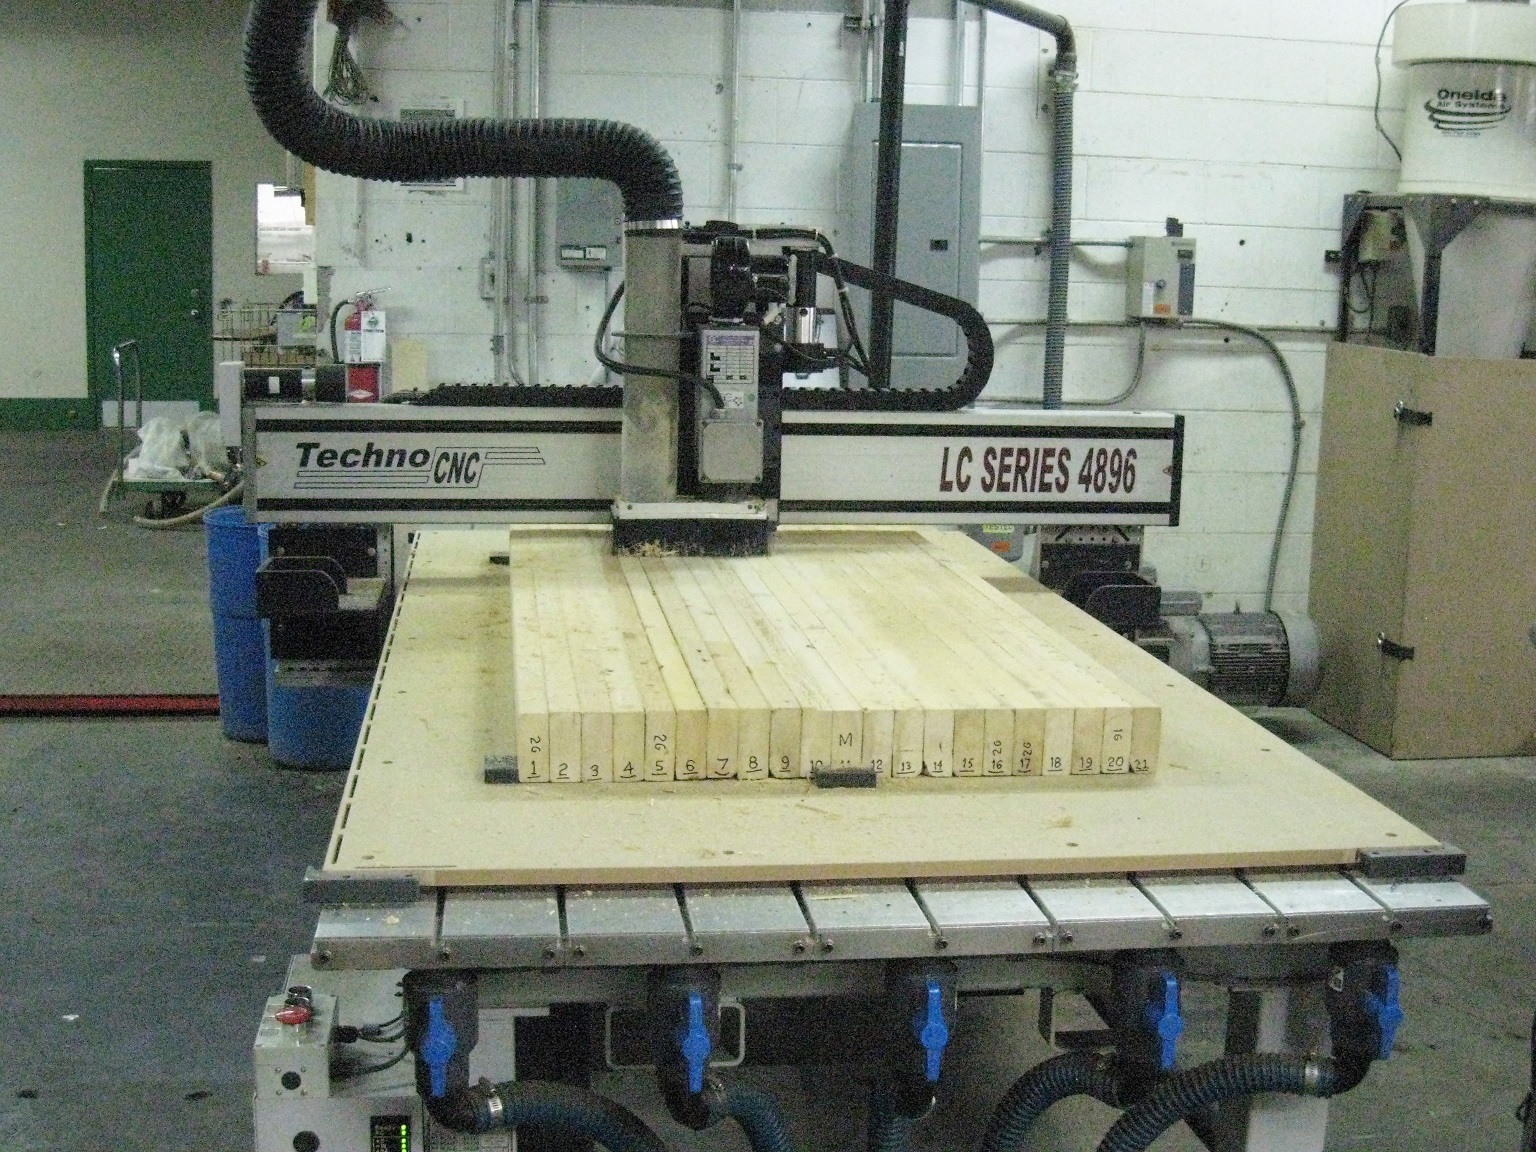
- Surfacing.JPG (827.8 KiB) Viewed 1641 times
Final thickness is 3"; I cut about 0.25" per side.
While the tabletop was on the CNC table, I drilled a square grid pattern of holes for 3/8" bolts, on a 6" pitch. I think that these holes will give me some flexibility in clamping workpieces to the table.
The tabletop has a working surface of 31.5" x 67.5":
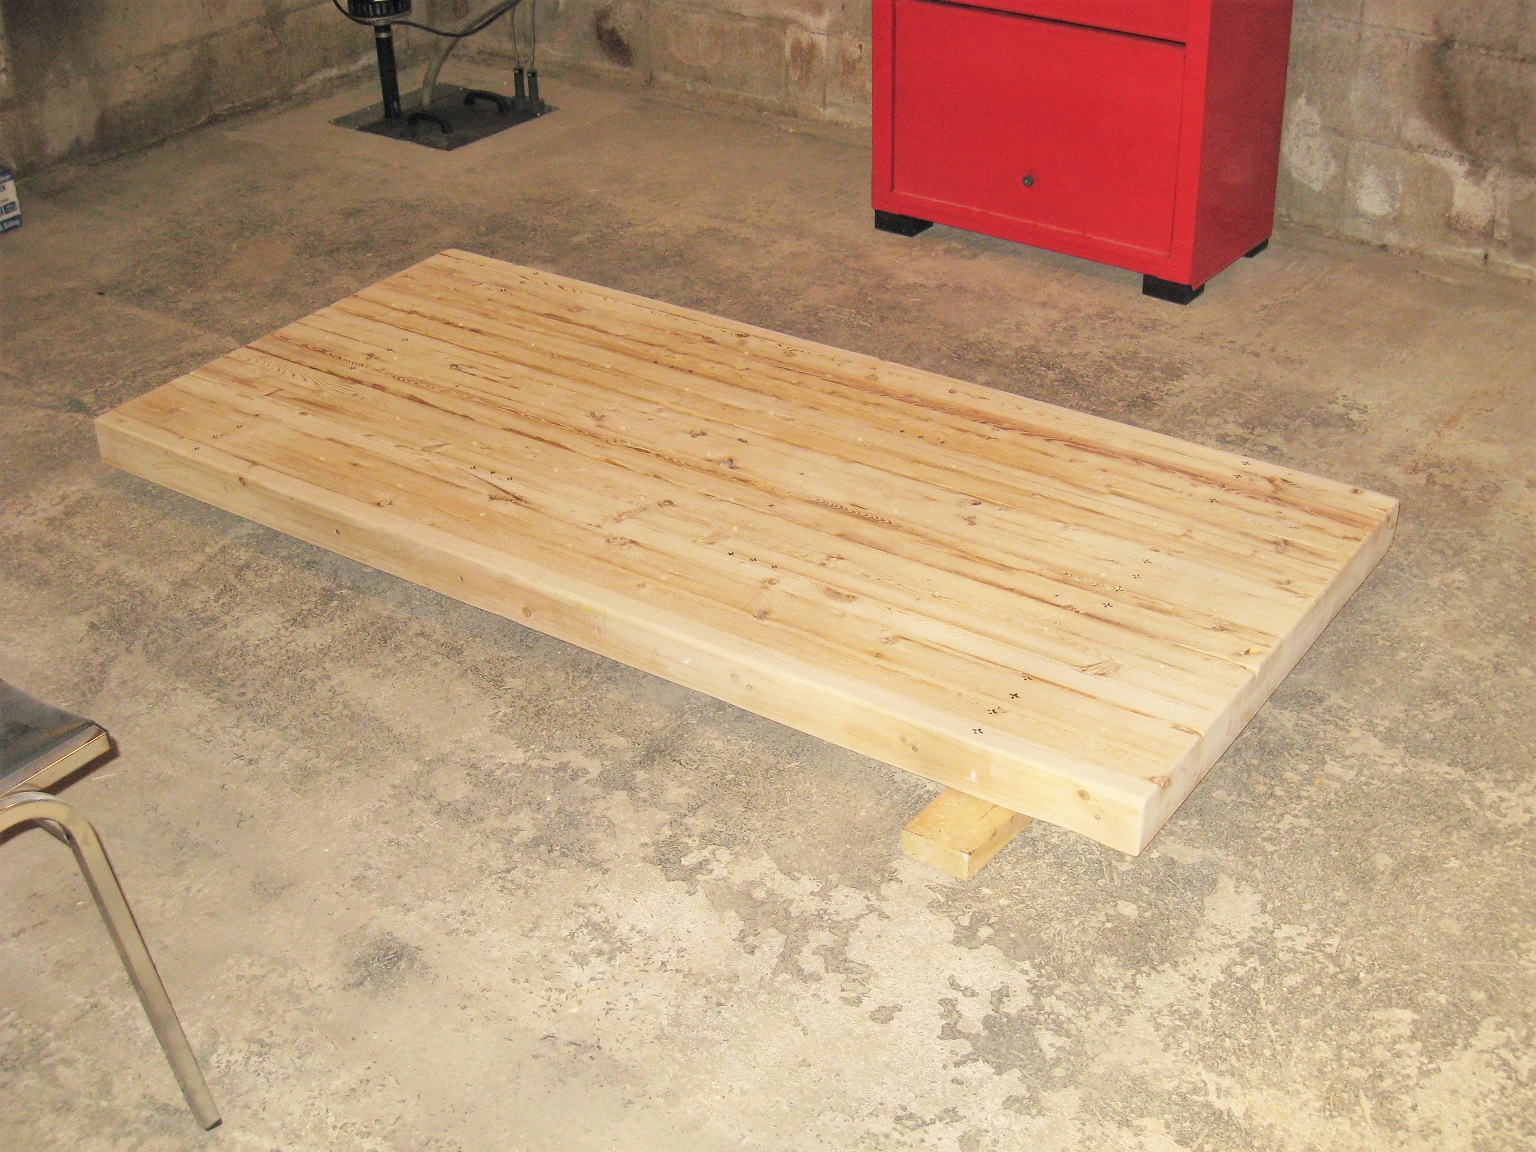
- Tabletop.JPG (737.17 KiB) Viewed 1641 times
Next steps are to make the legs, and then probably satin finish varnish.
Re: Workbench project
Posted: Sun Mar 12, 2023 9:04 pm
by The Dark Side of Will
pmbrunelle wrote: ↑Fri Mar 10, 2023 4:06 pm
The tabletop is made from 2x4s glued and screwed together:

I gave myself a bad case of tennis elbow right before I went to Afghanistan by driving 700 screws with a drill when I was putting together my bridge crane.
Re: Workbench project
Posted: Thu Mar 16, 2023 11:55 pm
by ericjon262
Bench is looking good! I want to make something similar for my shop.
Re: Workbench project
Posted: Sun Mar 19, 2023 10:30 pm
by pmbrunelle
Bad timing for tennis elbow

********************************************************************************
This weekend I built the legs.
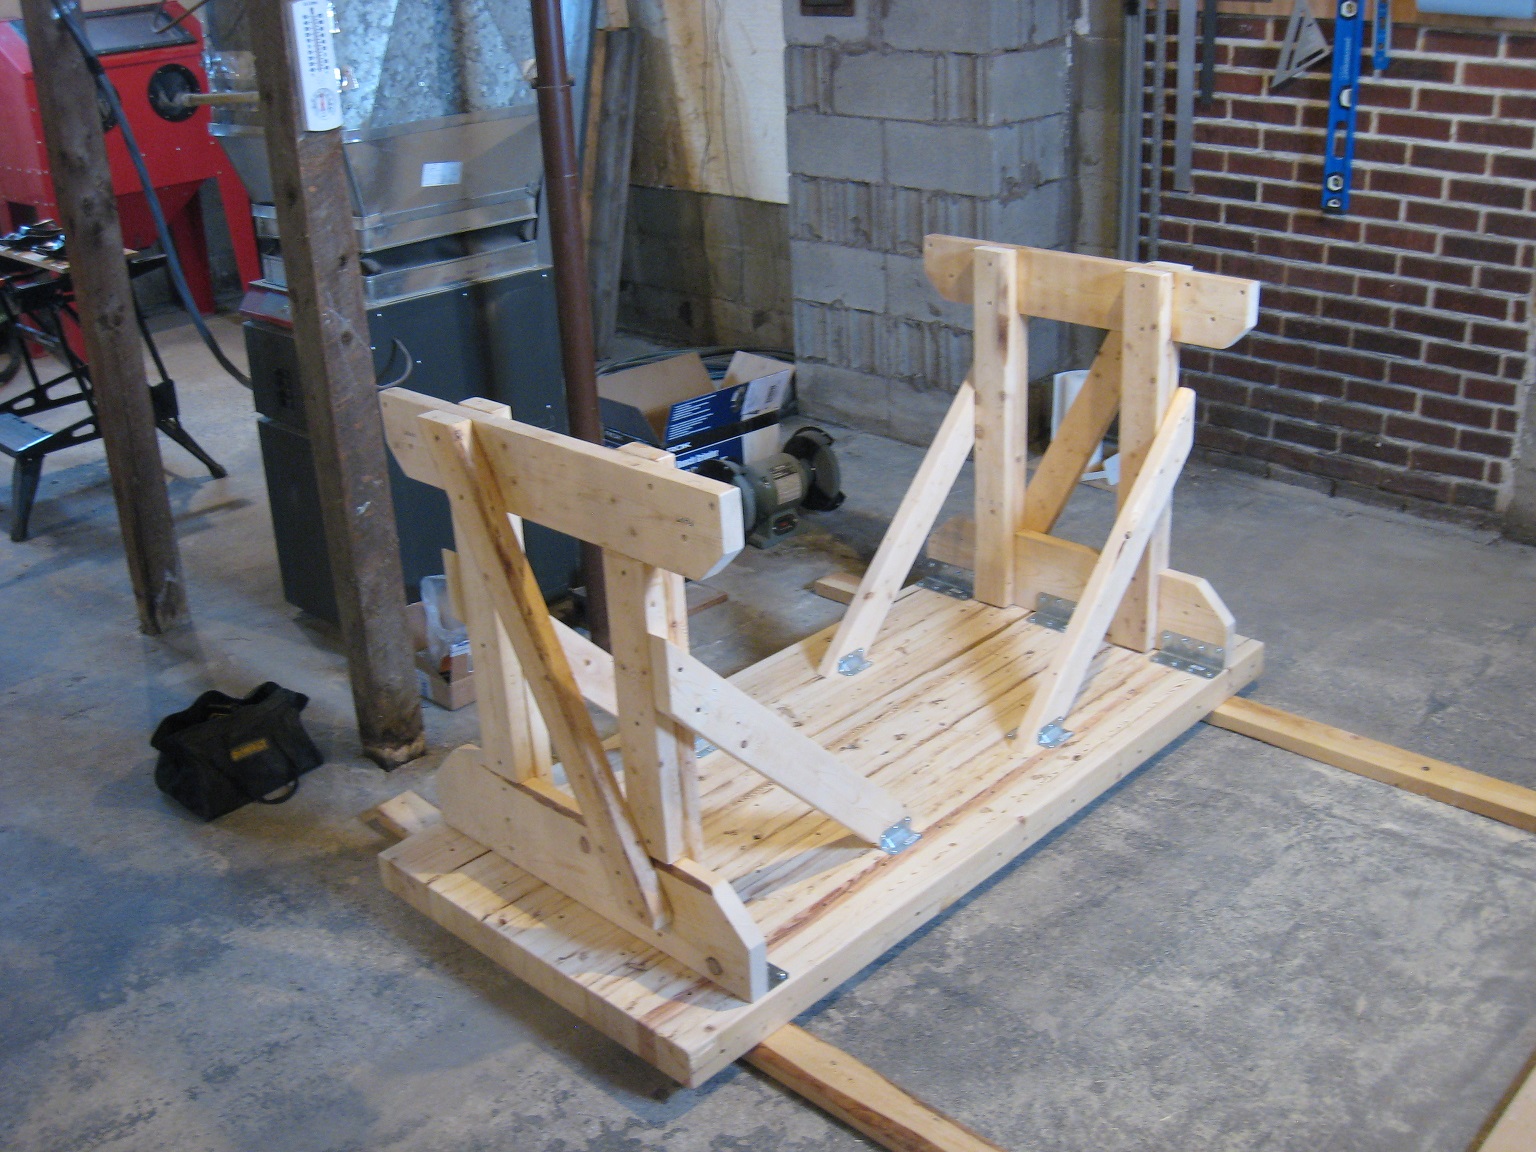
- Legs.JPG (576.11 KiB) Viewed 1507 times
The legs are off the tabletop now; when the separate parts have been varnished, I will reassemble the table.
********************************************************************************
I had some 4-bolt round steel plates from a previous project, which I repurposed into a set (4) of adjustable feet for this table.
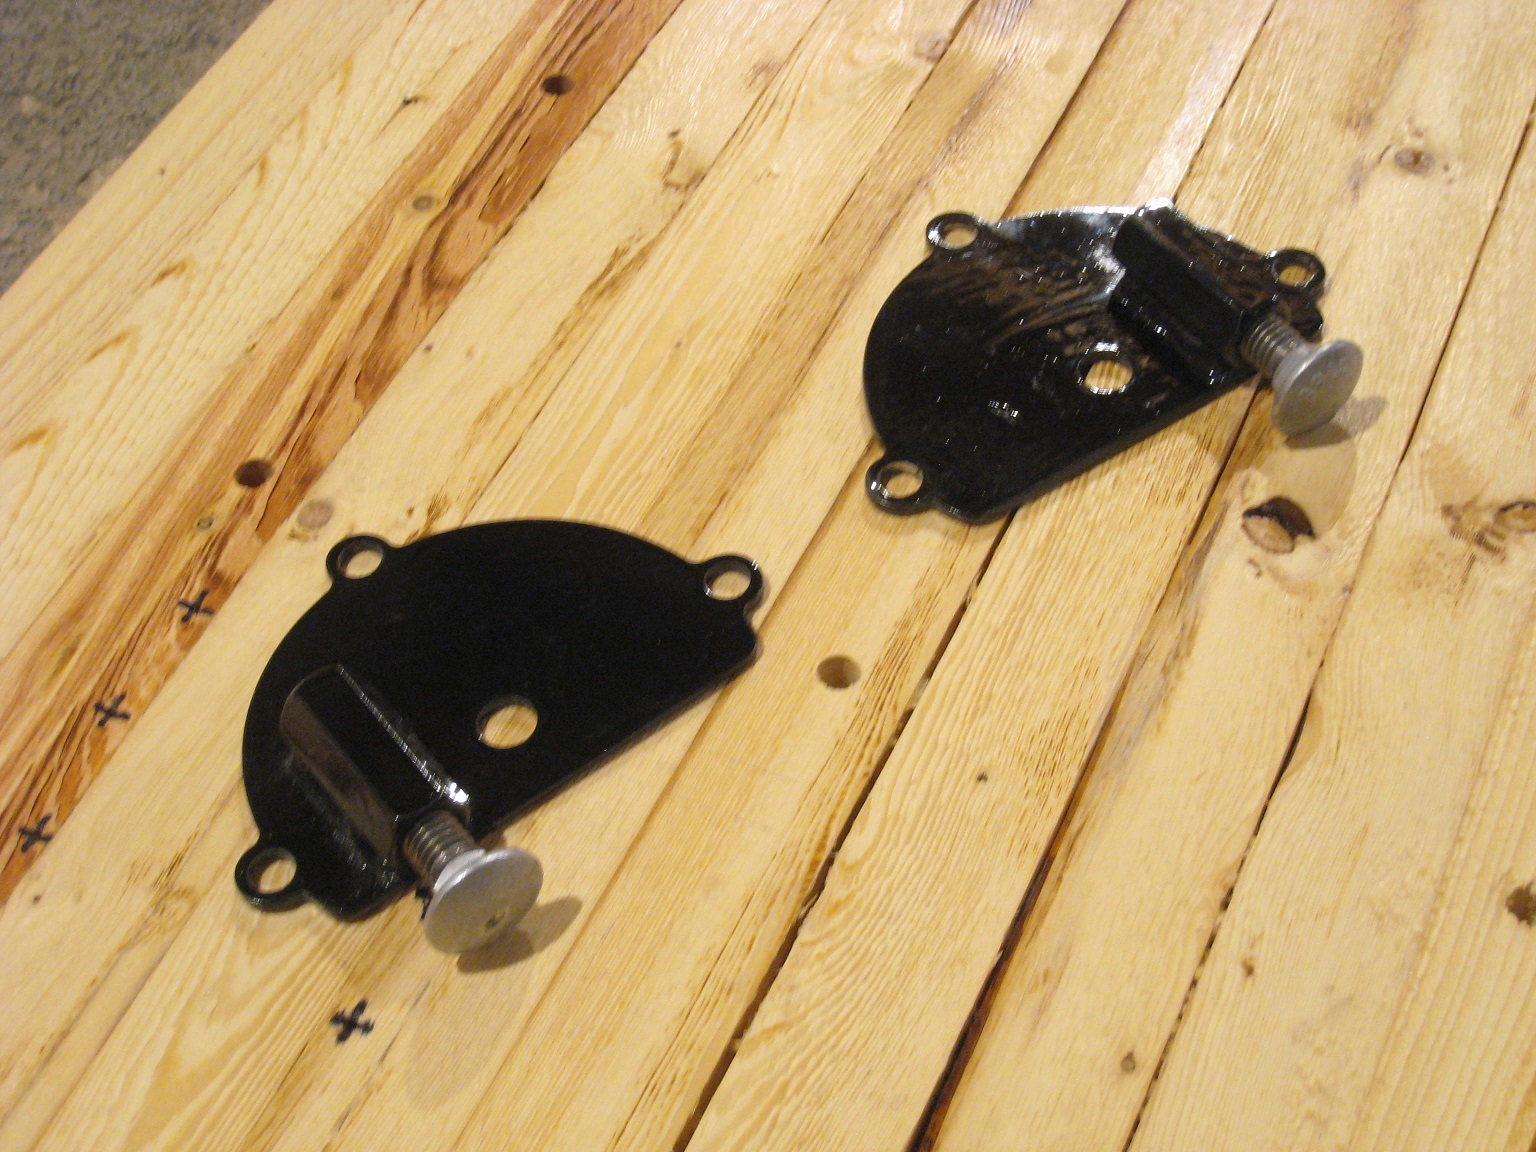
- Feet.JPG (592.17 KiB) Viewed 1508 times
I cut off a portion of the plate along a chord line, and I welded a 1/2-13 coupling nut to each plate. A 1/2-13 carriage bolt serves as the actual foot that's in contact with the floor.
Sandblast + POR-15 finish.
********************************************************************************
For this project, I was feeling a little more old-school, so I didn't use a 3D CAD software.
I did the drawing for the table directly in 2D.
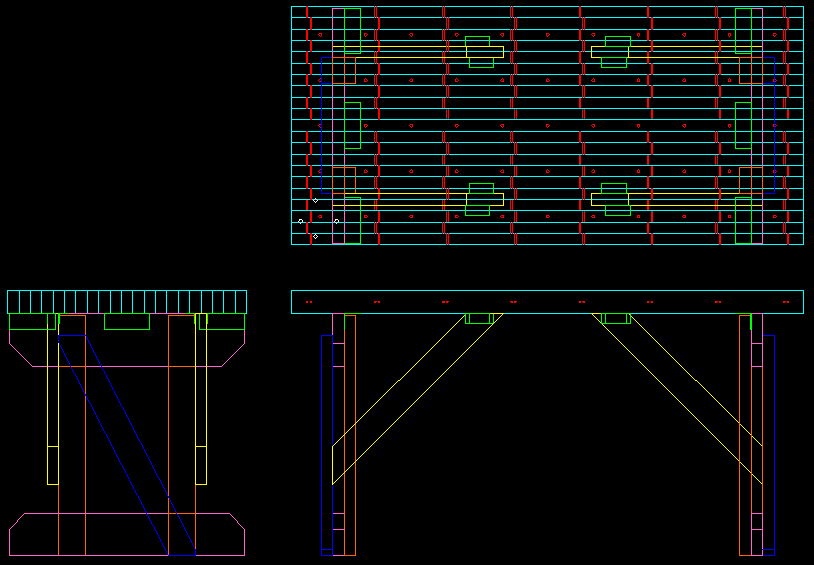
- Table drawing.png (19.36 KiB) Viewed 1507 times
Re: Workbench project
Posted: Sun Mar 26, 2023 5:47 pm
by pmbrunelle
The CNC work was actually done a few months ago.
Since then, I noticed that my 6" grid pattern of 3/8" holes was no longer exactly on a 6" pitch.
The wood shrank:
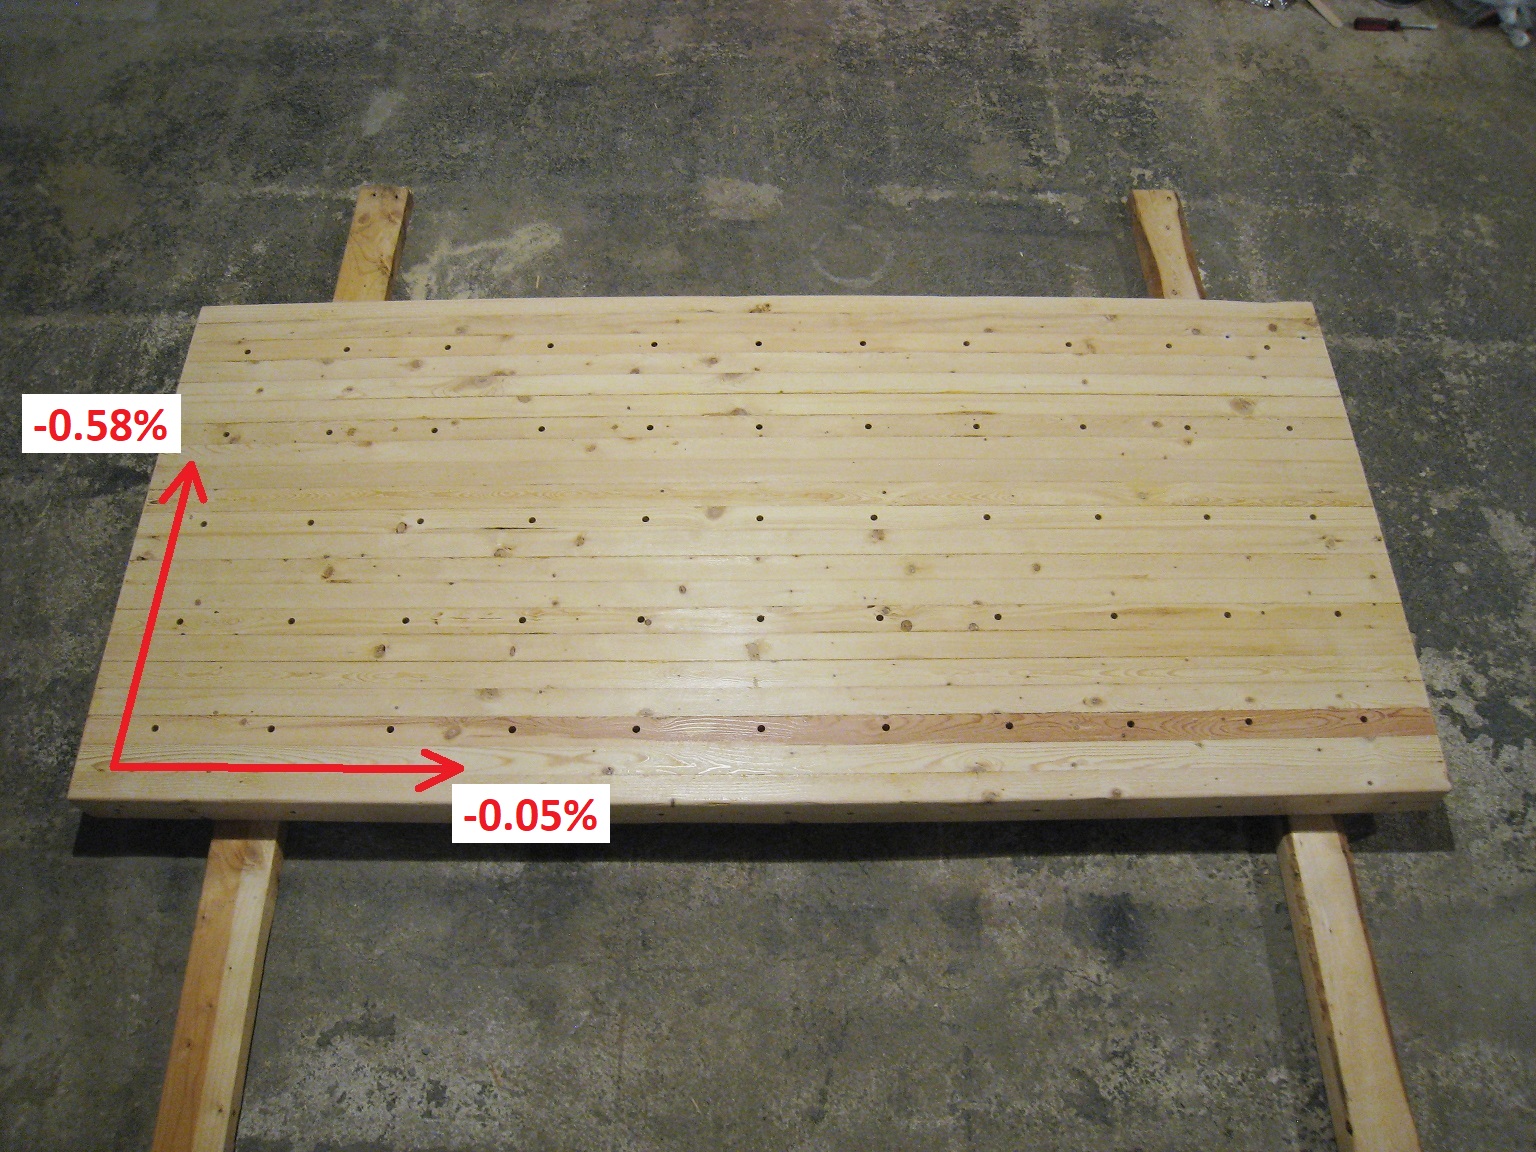
- Shrinkage.JPG (692.72 KiB) Viewed 1425 times
Much more movement perpendicular to the grain than parallel with the grain.
On some of the brackets fixing the tabletop to the legs, I enlarged the holes to make the attachments semi-floating:
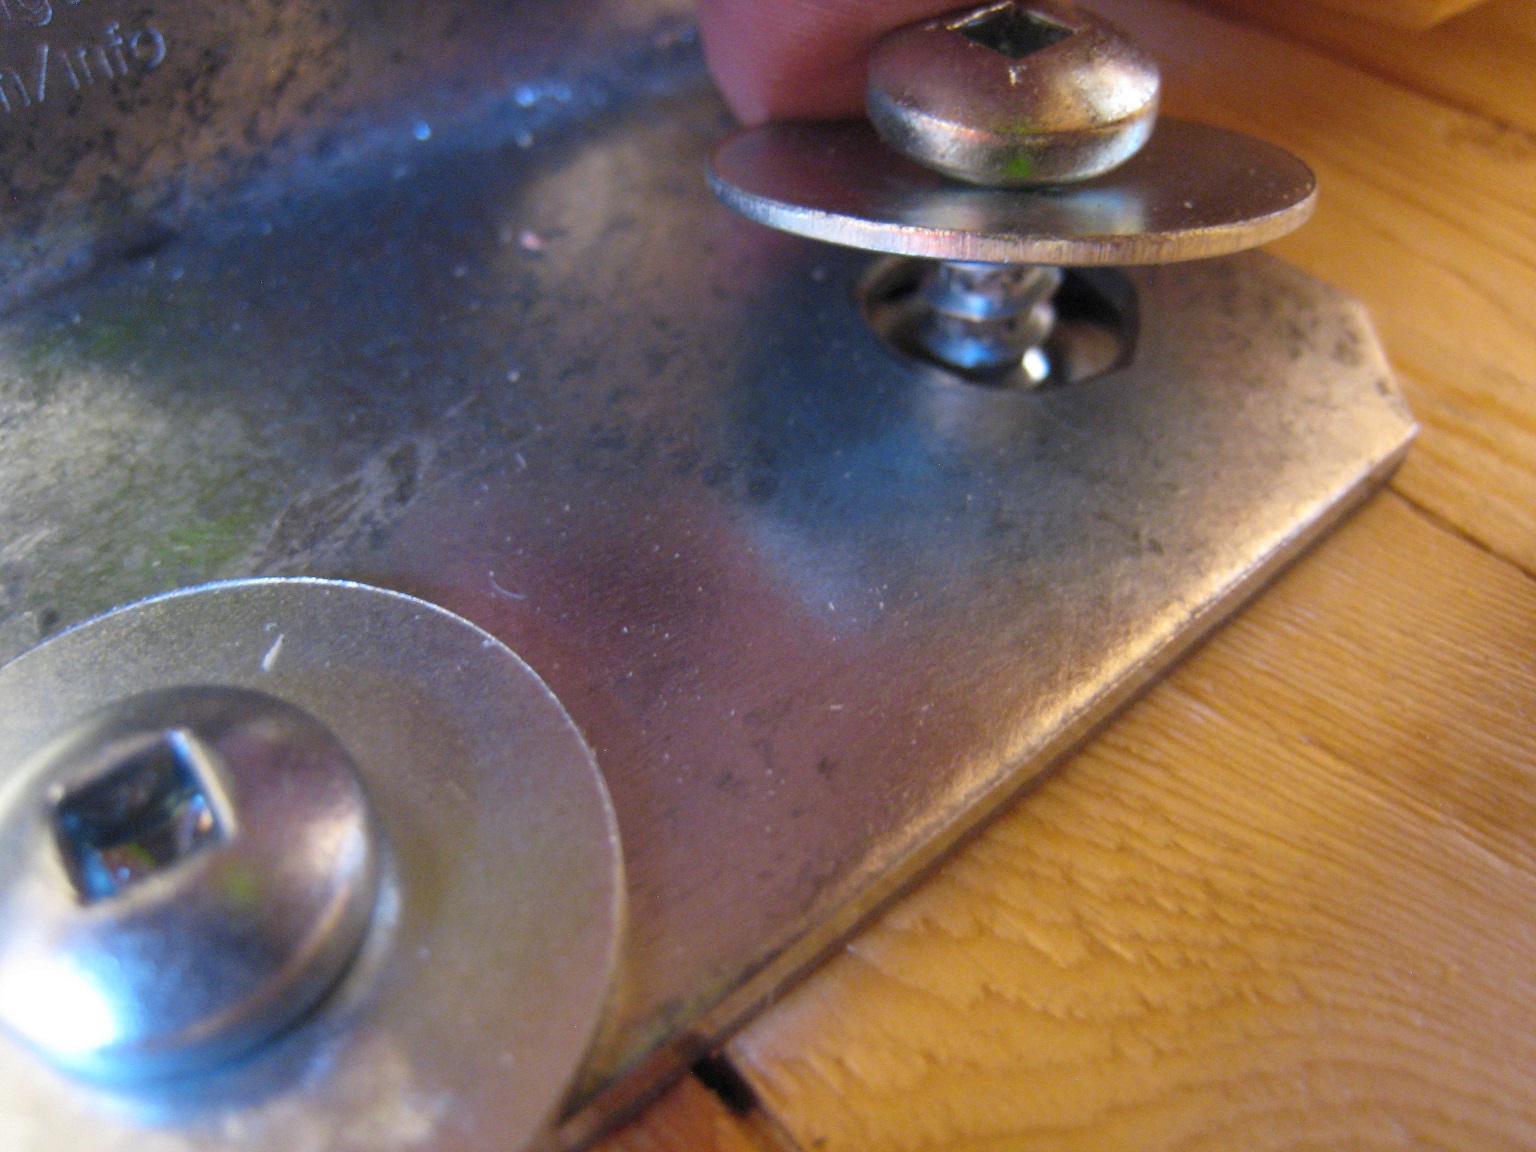
- Enlarged holes.JPG (519.6 KiB) Viewed 1425 times
This is to allow the tabletop to expand/contract perpendicular to the grain, hopefully avoiding bowing of the tabletop.
Right now my basement is around 45% RH. In the dead of winter, it goes down to 25% RH; in summer, it rises to 80% RH.
Everything is varnished. Especially for the tabletop, I varnished top and bottom, to ensure more symmetry for less chance of bowing.
Here it is, with a vise in the corner:
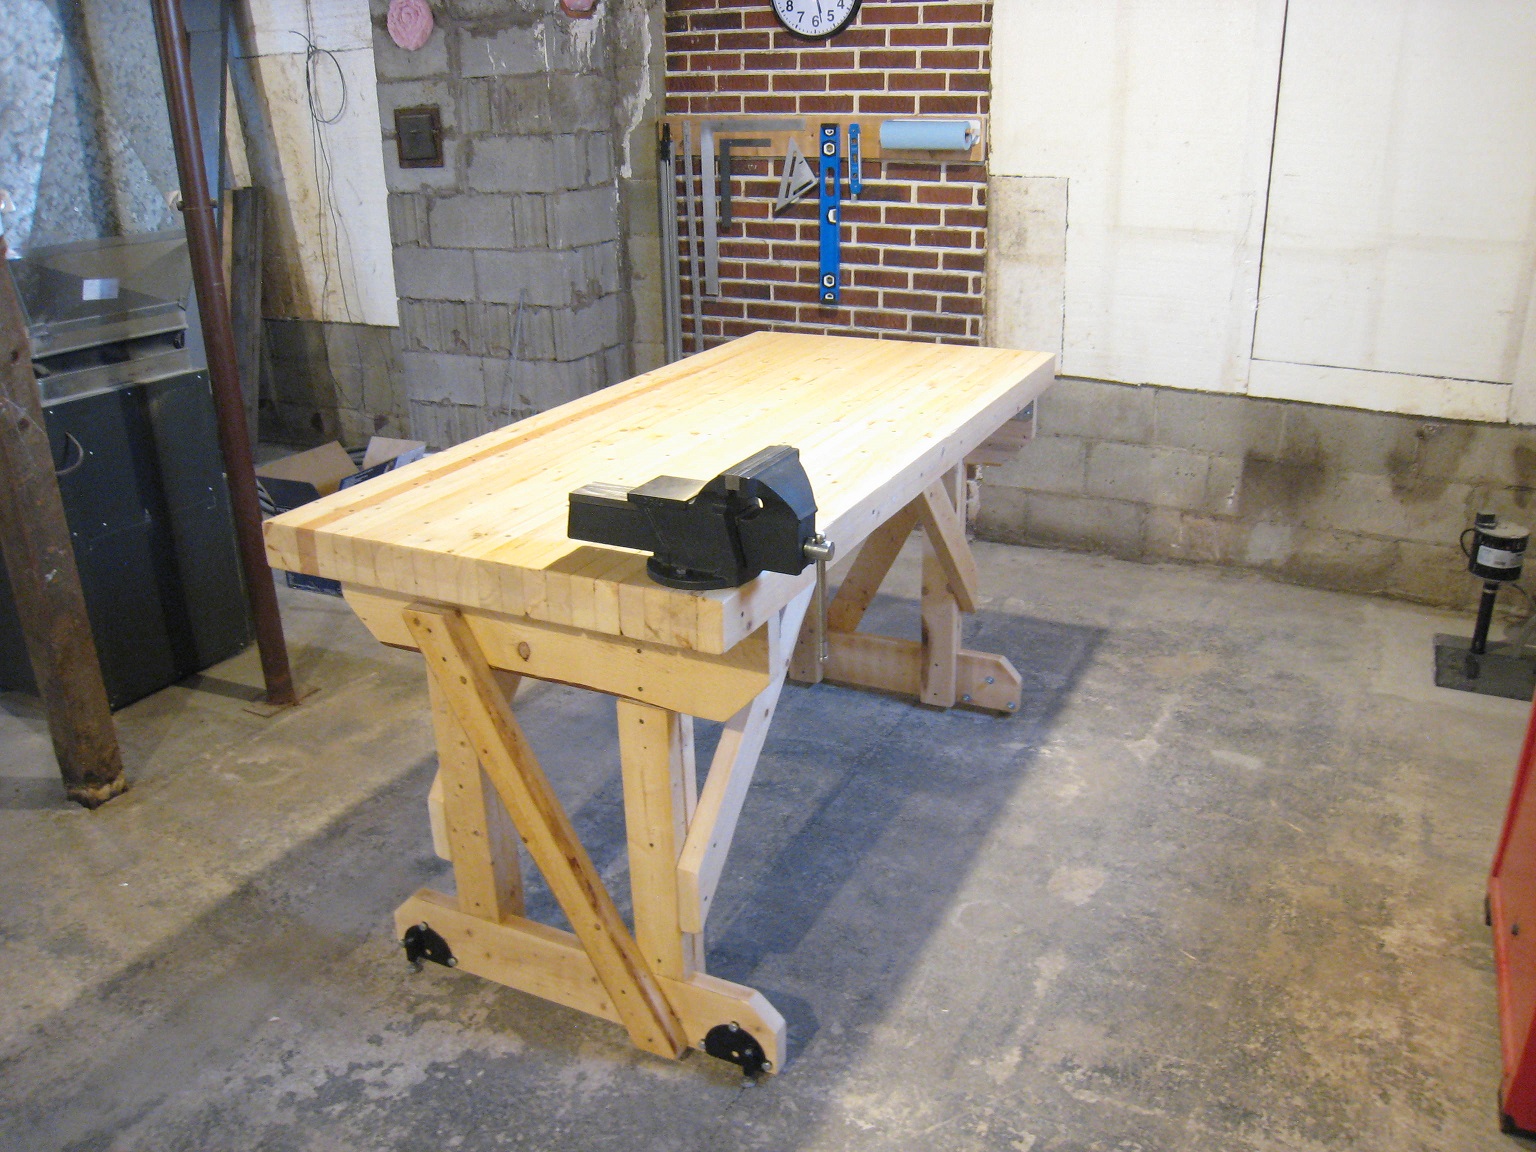
- Done.JPG (593.03 KiB) Viewed 1425 times
It's time to use the table for something now!
Re: Workbench project
Posted: Tue Mar 28, 2023 10:08 pm
by pmbrunelle
The table and its first project.
Painting the upper control arms of my Fiero with with brush-applied POR-15. I like POR-15 for parts like this.
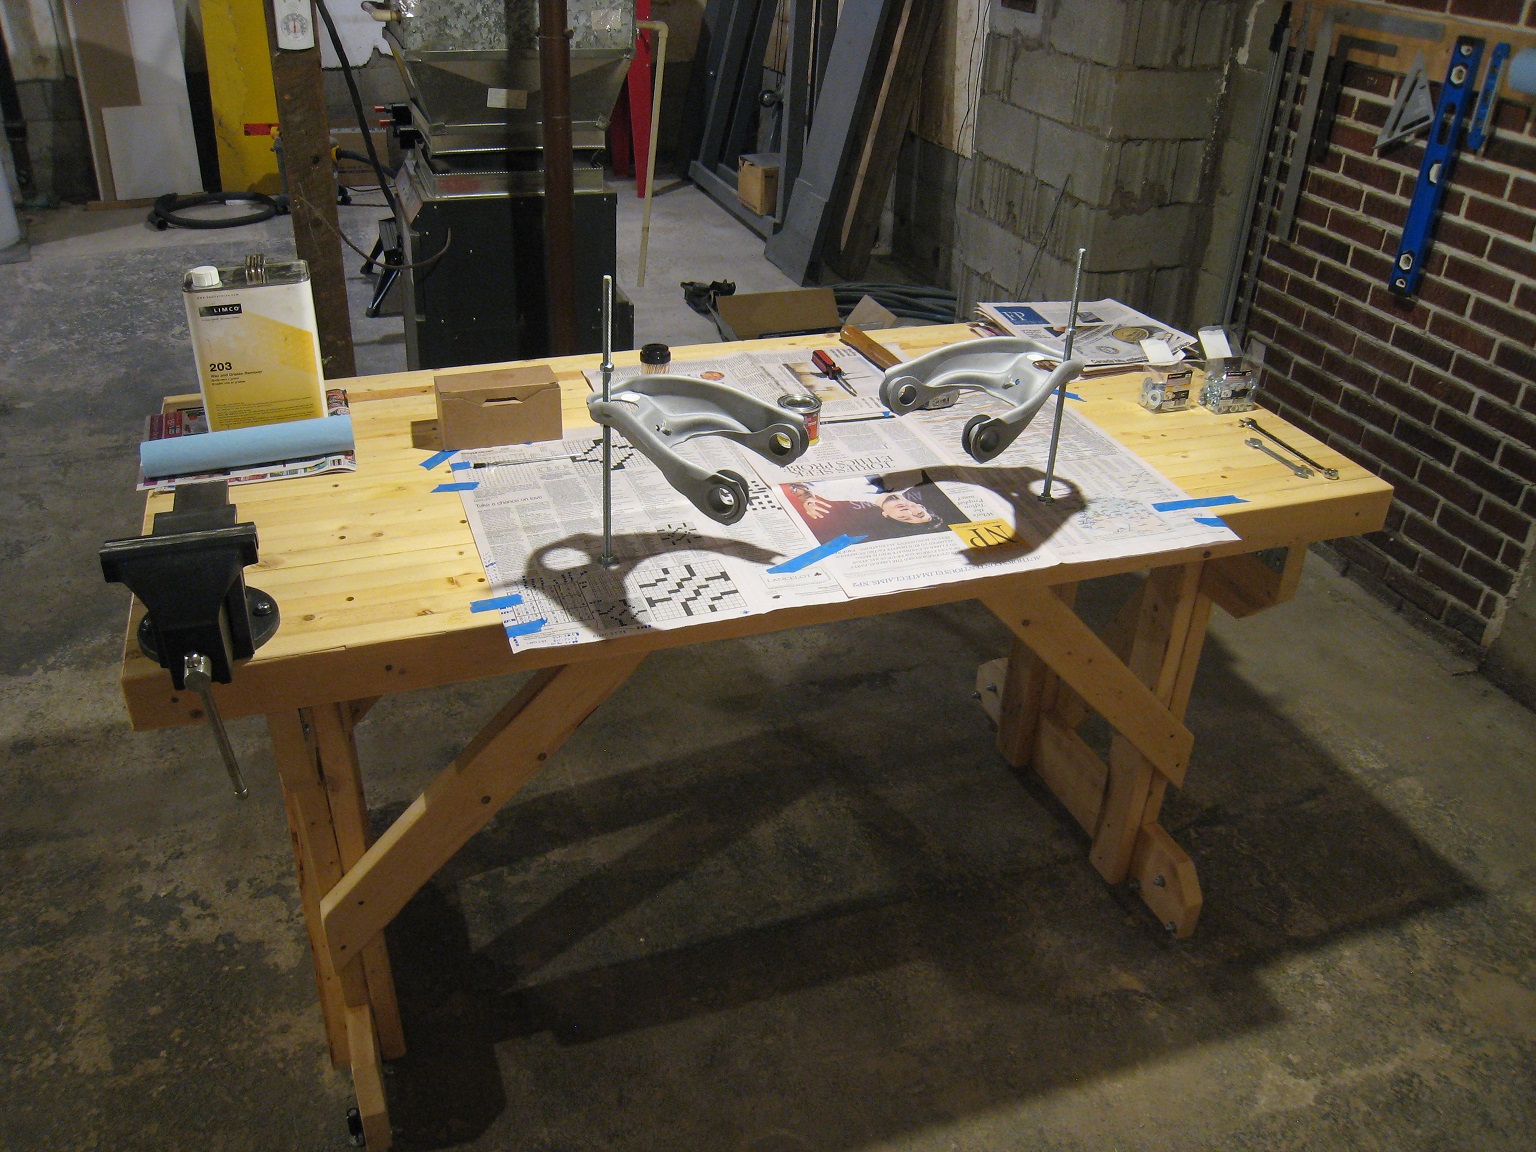
- Painting.JPG (655.19 KiB) Viewed 1384 times
Besides a bolt tack-welded to secure the brake hose, the upper control arms are stock.
Re: Workbench project
Posted: Tue Mar 28, 2023 11:32 pm
by ericjon262
I like your finished bench, it looks nice and stout. I have found with benches like this though, that sometimes you need them anchored to get the best out of them.
some anchors in the concrete, and some sidewalk bolts would allow you to secure it to the floor, yet when that's not necessary, the sidewalk bolts sit nearly flush with the floor and don't present a tripping hazard.
https://www.mcmaster.com/products/sidew ... /length~1/
just a thought.
Re: Workbench project
Posted: Fri Mar 31, 2023 9:03 am
by The Dark Side of Will
pmbrunelle wrote: ↑Sun Mar 19, 2023 10:30 pm
Bad timing for tennis elbow
Lol... I guess I wasn't very clear. What I meant was that absorbing the reaction torque from the drill seating hundreds of screws gave me tennis elbow. These days I use an impact driver rather than a drill. That injury still bugs me a little bit, years later.
Take care of yourself.
Re: Workbench project
Posted: Fri Mar 31, 2023 9:39 am
by The Dark Side of Will
pmbrunelle wrote: ↑Sun Mar 26, 2023 5:47 pm
Right now my basement is around 45% RH. In the dead of winter, it goes down to 25% RH; in summer, it rises to 80% RH.
80% I really high... it must suck to work there in the summer. If I were you, I'd get a couple big dehumidifiers for down there.
Does your house have air conditioning?